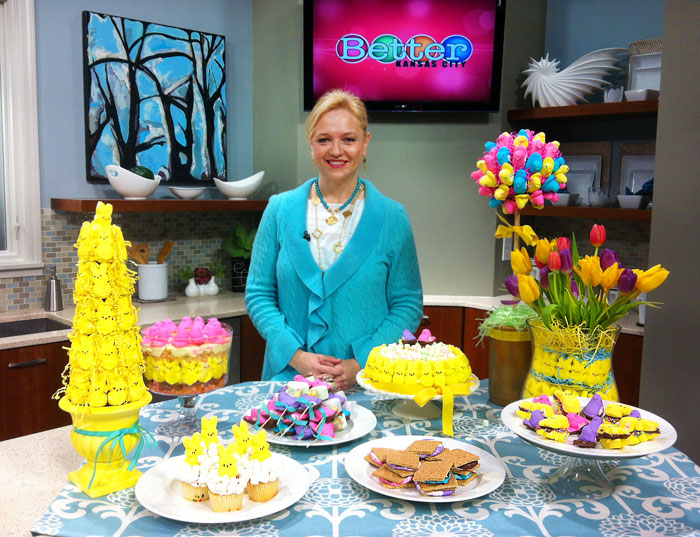
I had a great time showing off my fun PEEPS projects on Better Kansas City. To see the video segment, CLICK HERE

For some, PEEPS symbolize Easter, spring, and pure happiness! So whether you love them or hate them, these marshmallow molded sugar coated candies are one of the most popular treats in the United States! Over 4 million are created each day and 1 billion are made every year! Best of all, there is an endless variety of ways you can use them for snacking, baking, and even decorating. Here are my five favorite (super easy) PEEPS projects and the secrets to making them perfect!
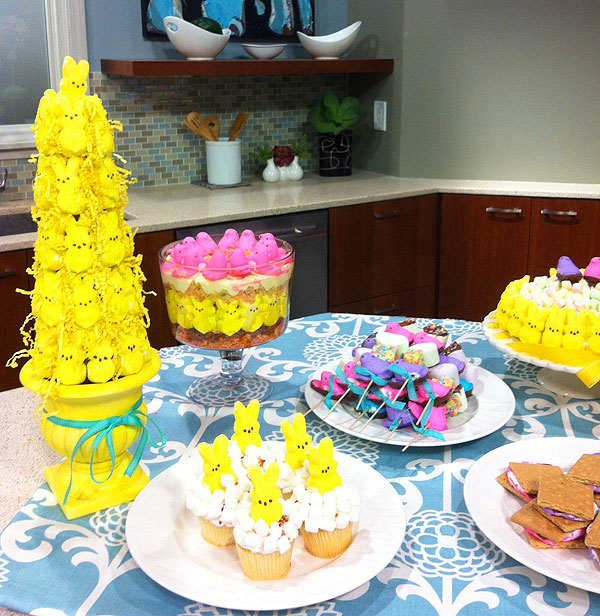
1. Secret #1 – when planning to hot glue your PEEPS, “CURE” them. Curing is another way of saying, let the Peeps dry out. As they dry, they harden and are much easier to work with when you are using any type of adhesive. I created two PEEPS TOPIARIES and cured my PEEPS for two weeks. Then, I purchased topiary forms and hot glued the PEEPS directly on them. Just be careful where you start and stop and make sure the seam is in one place, preferably the back. And yes, with a little direction, this can be a great project to do with the kids.
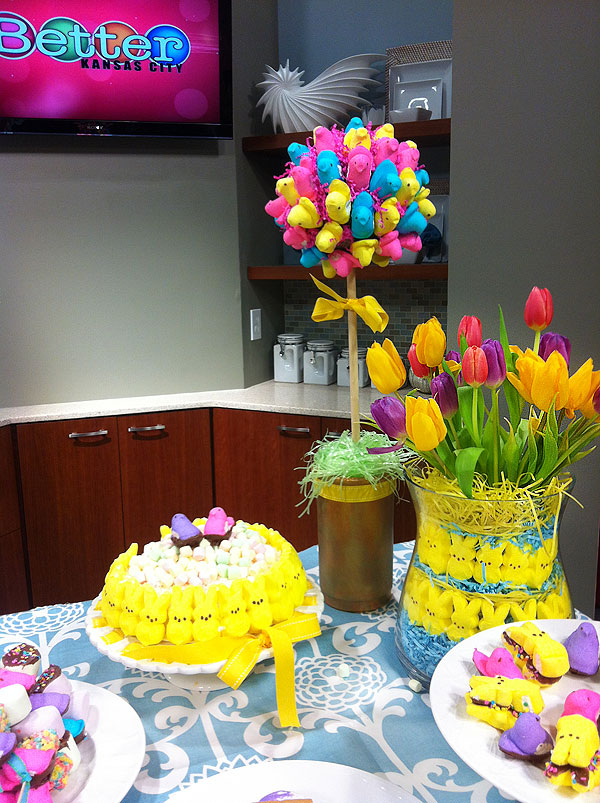
2. Secret #2 – Bunny PEEPS look great Layered! A great tip is to use the paper grass instead of jellybeans or other candies to fill in spaces between layers. It is a lot more affordable and looks great! I created a layered PEEPS CENTERPIECE (pictured above) with a “layered” look that used PEEPS and paper grass. The PEEPS bunnies are perfect for this project, because unlike the doves or chicks, which are rounded, the bunnies are nice and flat. This wonderful shape makes them perfect to layer on cakes, in centerpieces, and even wreaths.
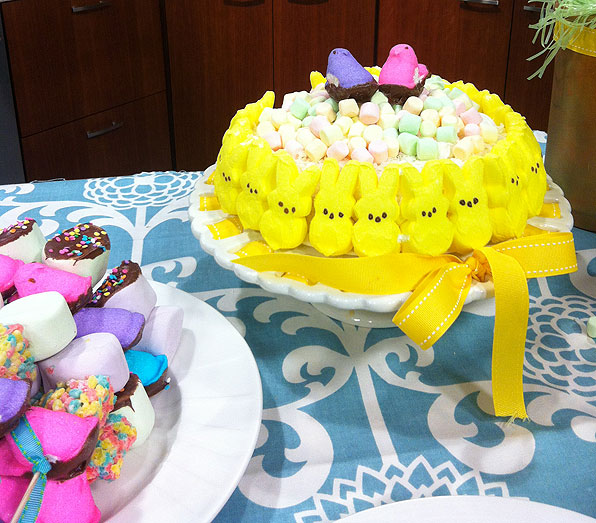
3. Secret #3 – When using for edible projects, make sure the PEEPS are as fresh as possible by embellishing your desserts right before serving them. One of the easiest and most popular projects is a PEEPS CAKE. Simply make your favorite cake in a round pan (or purchase one at the store) and embellish with PEEPS. For many, PEEPS are best when they are soft and fresh, so decorate your cake a few minutes before serving. As many of us know, Peeps harden when they are exposed to air, so the less time they are out of the package, the softer they are.
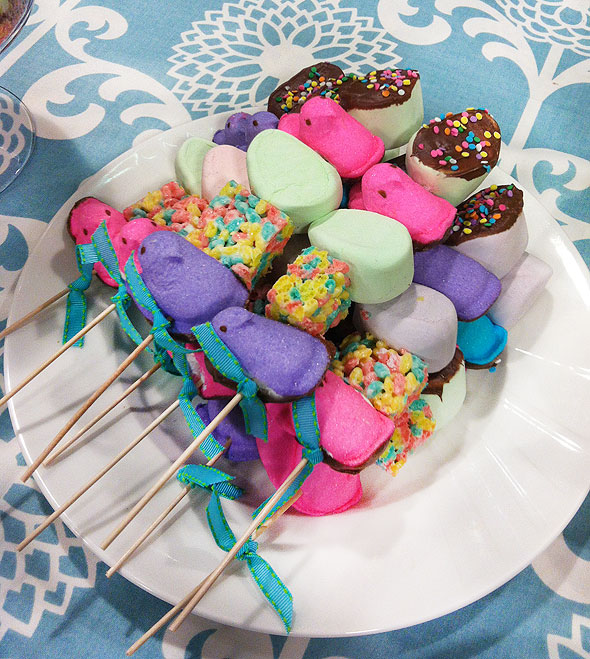
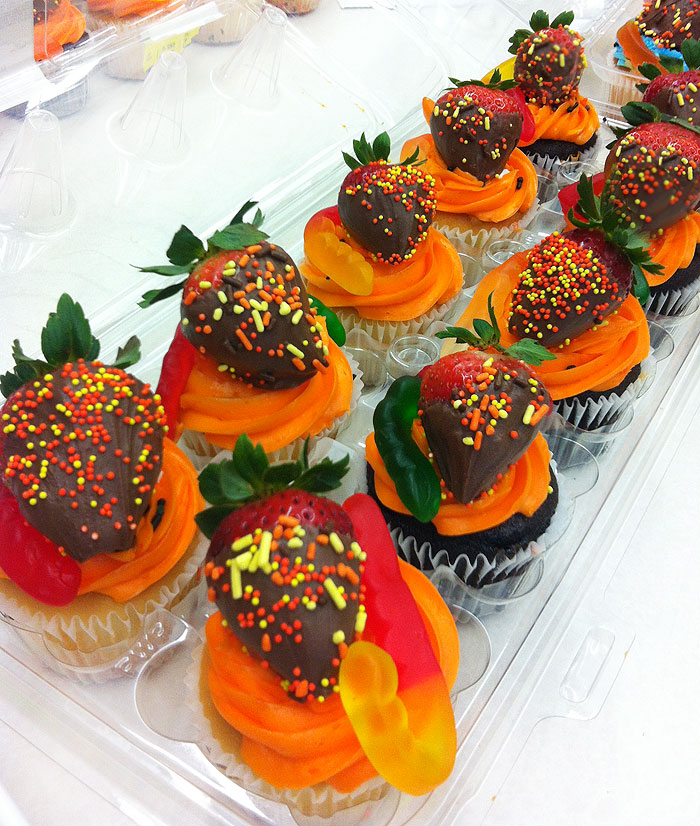
Another delicious project where I recommend you serve soft PEEPS are these wonderful PEEP-kabobs. They are made with Little Debbie’s Easter marshmallow treats, and chocolate covered marshmallow eggs. If you have some extra time, dip your PEEPS in chocolate and give the PEEPS some drying time so the chocolate can harden. I use the candy chocolates you can buy at any craft supply store that has a baking section. Or check your grocery store, now you can purchase ready-made chocolate dipped PEEPS. Absolutely DELICIOUS!!!
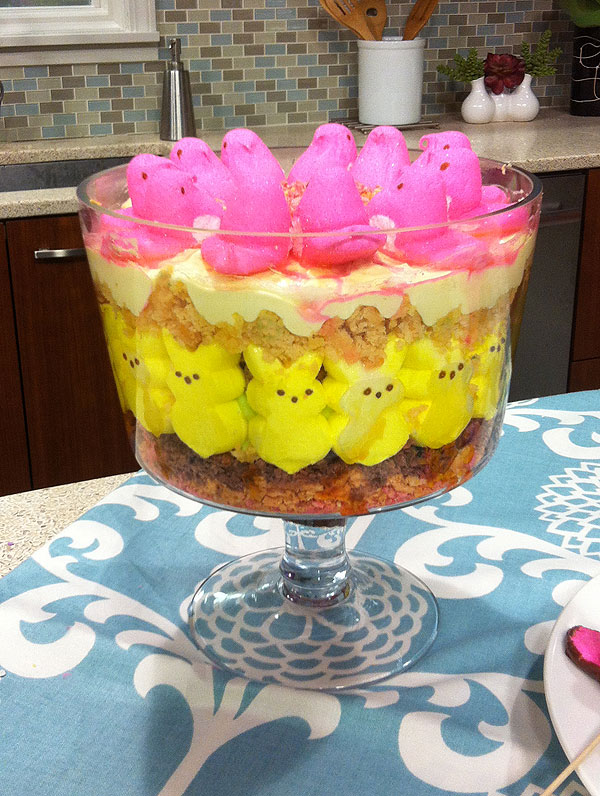
Secret #4 – PEEPS are indestructible! Peeps are famous for their 2 year shelf life and indestructibility. Scientists at Emory University could not dissolve PEEPS in water, sulfuric acid, or sodium hydroxide. What that means for the PEEPS lover is that they can submerge their PEEPS in practically anything without the fear of them being destroyed. I got excited about the possibilities and created this PEEPS TRIFLE – The trifle was super easy. My bottom layer consisted of sugar wafers. I layered the PEEPS around my trifle bowl directly on the wafers. My second layer was Lemon or Lime pudding combined with cool whip. My third layer was cake but I also highly recommend using breakfast waffles, they are less sweet and when saturated with the pudding, are delicious!! My third layer was pudding and cool whip. My fourth layer was more cake (or breakfast waffles). My fifth layer was more pudding. And my final layer was the pink Peeps on top. If you would like a slightly less sinful version, use sugar-free pudding and incorporate the breakfast waffles instead of the cake and sugar wafers. Also, give your Trifle some time in the refrigerator, anywhere from 4 – 24 hours. All the layers have time to “marry” and soak up each other’s goodness.
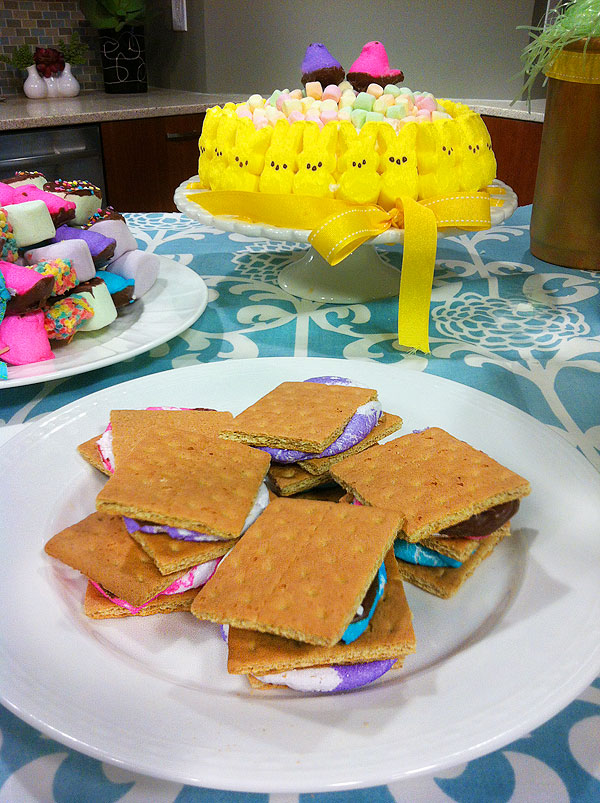
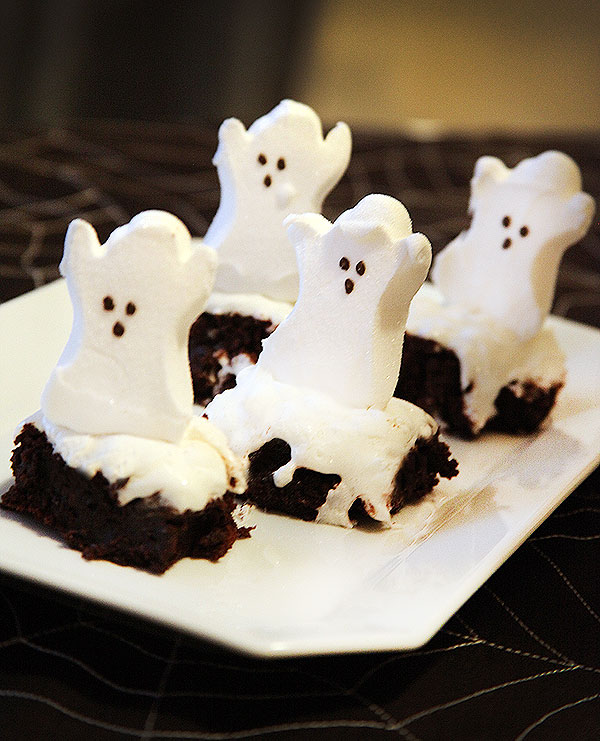
Another famous dessert for Easter are the PEEPS S’mores. It’s fun to watch the PEEPS morph in the microwave and once you put them in between two graham crackers… well… you best clear the way, because there will be a mad stampede to the dessert table! The PEEPS S’mores are really simple to create. I dipped my PEEPS in chocolate the night before. Right before I served them, I placed one on top of a graham cracker, popped in the microwave for about 15 seconds and watch them do their thing. Once I felt they were ready, I took them out of the microwave and placed another graham cracker on top. It turns out perfect every time!!!
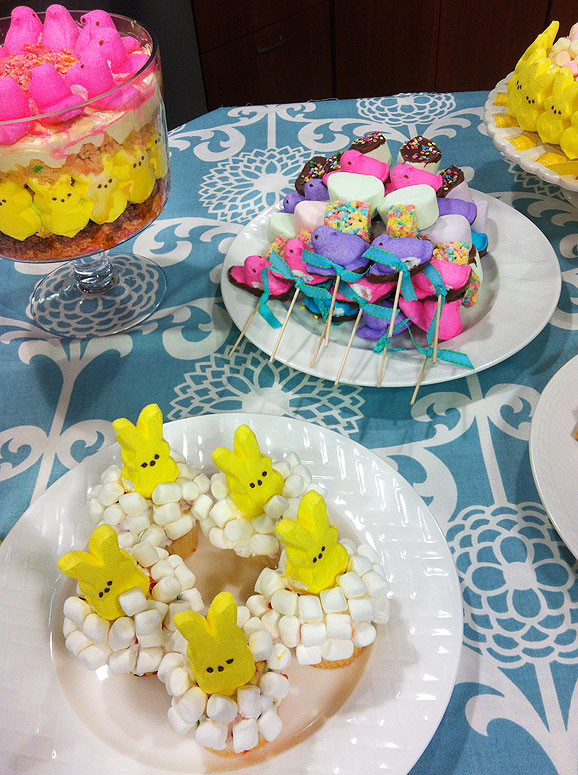
5. Secret #5 – PEEPS are cute when you “stage” them! You may or may not be aware that there are over 60 national contests that take place every year involving PEEPS one way or another. Many of them are Diorama contests. The Dioramas show PEEPS doing all sorts of crazy things (Star Treck scenes, Harry Potter, scenes, etc.) Just google “PEEPS Dioramas” and you will have a plethora of funny things to look at. And if you want to stage your own PEEPS, here are some PEEPS bubble bath cupcakes that take just a few minutes to put together. Your kids will love doing this. Simply make cupcakes and frost them with white icing (or purchase ready made cupcakes at the store with white icing). Put a PEEP on a toothpick and stick the toothpick and peep into the cupcake. Then, open a bag of mini-marshmallows and decorate your heart out. Super simple and incredibly adorable!!