How To Create An Epic Cheese Platter
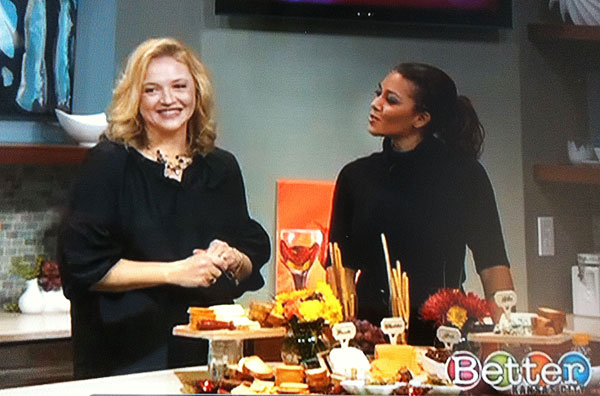
It’s always really exciting when I get to appear on Better Kansas City! The hosts are fun and the crew always makes me feel like I’m among friends! It was Kelly’s (one of the hosts) birthday the prior week and I wanted to create something special for her to celebrate her belated birthday! What better way to do that than with a cheese spread? Lucky for me, the producer agreed that since the holidays were just around the corner, most watchers would probably appreciate a “how-to create a cheese platter 101”. So, equipped with my “no-fail” tried and true tips, I arrived at the studio with tons of cheese, accessories, and a slew of ideas.
Many people wonder where to start when planning your cheese platter. I’m certainly no cheese expert but the good news is that creating a cheese presentation is basically a “no-fail” endeavor. As long as you have cheese and crackers, your guests will be happy. However, if you want to take it to the next level, there are many things you can do to create something unforgettable. I’ve done my research on the internet and also met with a “Cheese Steward” at a local store who gave me some great advice. So, here’s what I learned:
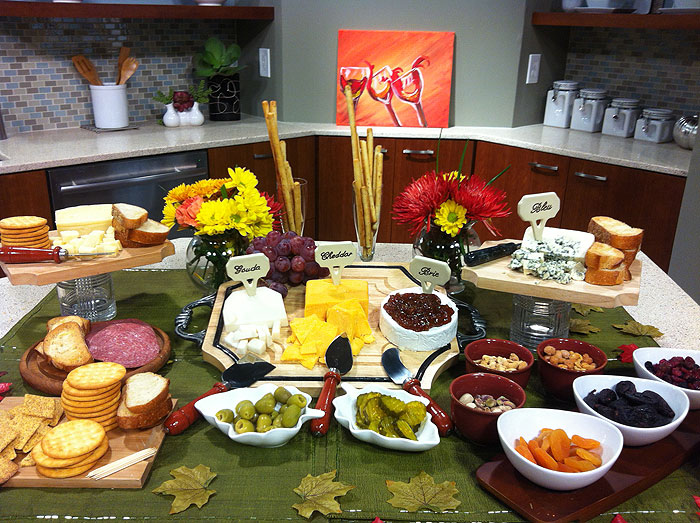
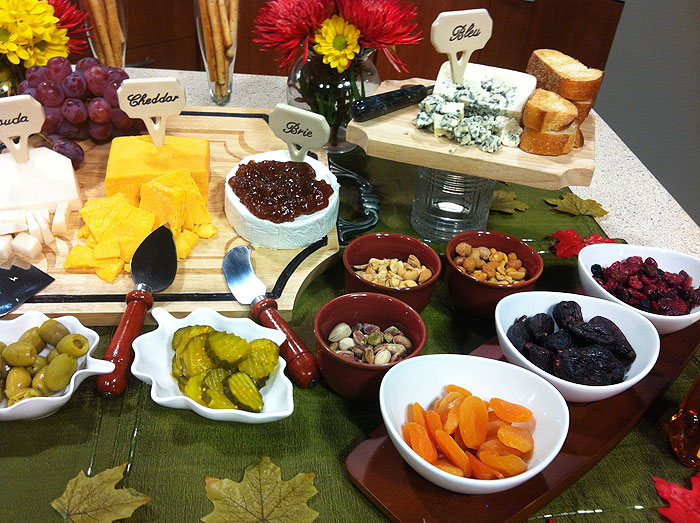
TIP #1 – Try to have at least three milk types (cow, sheep, and goat). Also, try to incorporate cheeses from different countries or regions. For example, I had sheep cheese from Spain, goat cheese from Holland, and cow cheese from the United States.
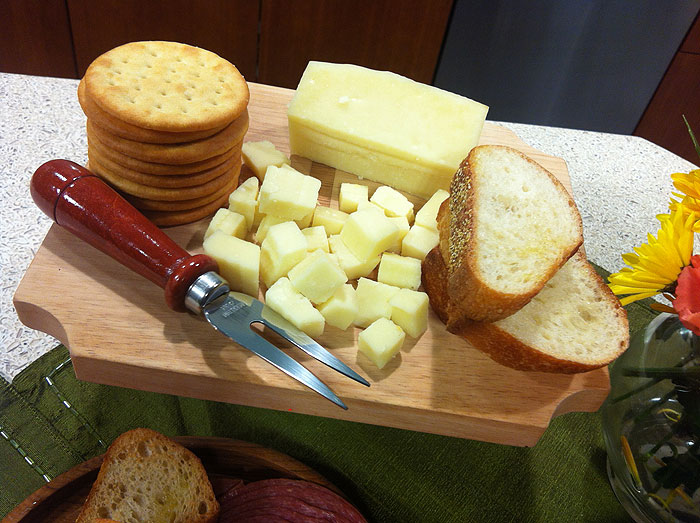
TIP #2 – Have fun with the presentation! Don’t worry about arranging things on special cheese platters. Simply using cutting boards… large and small… will create a warm setting that is not only practical but beautiful as well! Additionally, don’t ever feel like you have to buy fancy equipment or presentation items. Cheese is all about being casual and rustic… nothing fancy-schmancy about it!
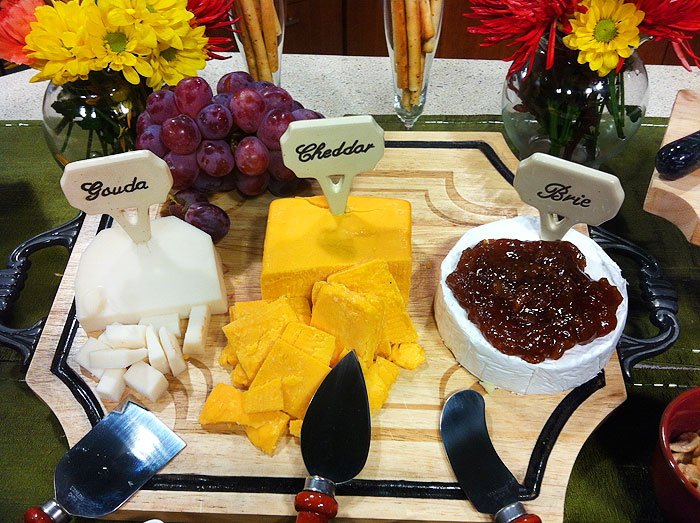
TIP #3 – Have a different knife for each cheese. There are few strict rules in cheese presentation, but having a knife dedicated strictly to each cheese is one of them. No one wants a hunk of bleu cheese intruding on their cheddar.
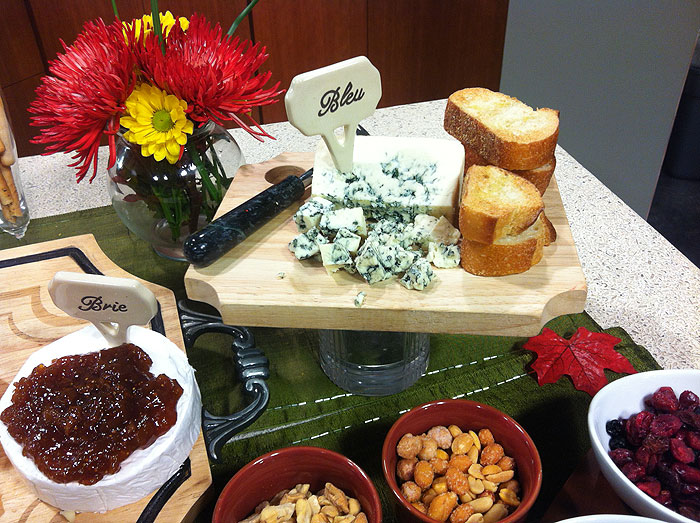
TIP #4 – Label, label, label! Another rule not to break is to make sure your cheeses are well labeled. Unless you plan to be next to your cheese plate all evening, ready to go into explanations with every guest, there should be a label next to each cheese. The reasons are pretty obvious. Some people may not be able to tolerate cow cheese, but can enjoy sheep or goat cheese. And no matter how obvious some cheeses look, there are always people who have no idea which is the brie or the bleu cheese. So do your guests and yourself a favor — label… label… label!
TIP #5 – Arrange the cheese. Although this is not a die-hard rule, most cheese afficiandos will tell you that when placing multiple cheeses on a circular tray, place the cheeses in a clockwise direction starting from the mildest at the twelve o’clock position to the strongest, like your bleu cheese, at eleven o’clock. When arranging on a rectangular board, start with the mildest flavors on the right and work your way toward the strongest cheeses on the left. Again, no one will call the cheese police if you don’t follow these rules, but you may impress the cheese afficionados.
TIP #6 – Don’t spend a ton of money on crackers! Most people think that crackers have to be fancy or gourmet to serve with cheese, but the truth is, your cheese should be your main investment. Gourmet crackers are not a “must”. In fact, most cheese experts recommend you stay with neutral crackers with no herbs or additional flavorings. The important thing is to make sure the seasonings on the crackers do not interfere with the taste of the cheeses. So save your money!
TIP #7 – Take care of your cheese! Put your cheese out an hour prior to serving so it has a chance to soften. Keep cheeses covered during the party so they don’t dry out. When putting leftover cheese away, wrap in wax or parchment paper to let the cheese “breathe”. Store in the most humid section of your refrigerator, which tends to be the vegetable drawer.
TIP #8 – It’s all about the pairings! Even though cheese and crackers are great together, adding additional items to the cheese plate is not only delicious, but gives guests a sense of variety. Here are some suggestions for pairing cheese.
1. Artisan breads are wonderful for practically any cheese. Soft breads and crusty toasts will work with mild, strong, soft, and hard cheeses.
2. You can’t go wrong with fruit! Fresh or dried, fruit is a wonderful accompaniment to any cheese. Choose fruits that are in season and arrange them to create a colorful presentation. Fresh apples, pears, grapes, kiwi, and pomegranate look beautiful together. Dried figs, apricots, and cranberries are perfect to serve on a cold winter evening alongside your gourmet cheeses.
3. Dried meats such as prosciutto, salami, and sopresetta are perfect next to sheep cheeses. Place small crocks of mustard and horseradish nearby so guests can create small sandwiches with their meat and cheese pairings.
4. Don’t forget the nuts! Nuts and cheeses go hand in hand. You don’t have to spend oodles on gourmet nuts. Simple nuts such as walnuts, almonds, cashews, and even peanuts work well with cheese. There are even hybrid nuts which are made especially for cheese pairings.
5. The sweet stuff! Did you know that drizzling honey over your bleu cheddar cheeses is DELICIOUS! Try it! Your guests will also be surprised. Other items like fig spread over brie is absolutely unforgettable. Great for an after-dinner cheese spread as well!
6. Pickled anything! Some of my most favorite pairings are pickles and even olives! They go great with mild or strong cheddar. Place some pickles or olives next to your cheddar and watch them disappear!


