August 29th, 2018
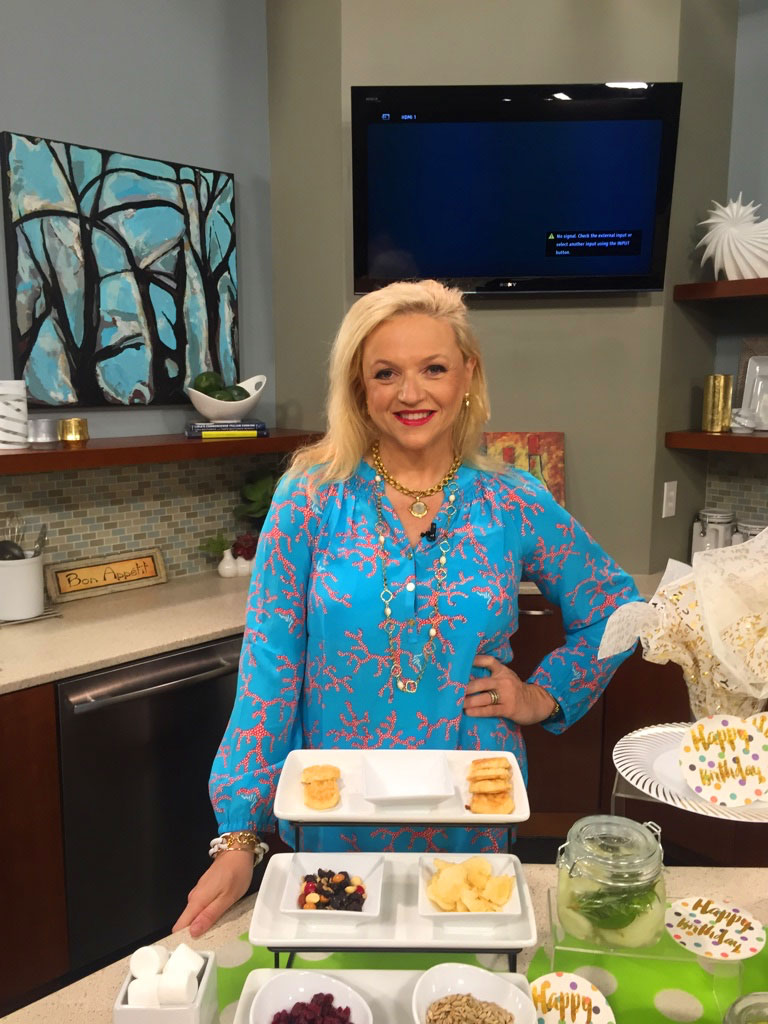
I forgot to post this oldie but goodie on my blog. A few years ago I did a fun segment on Better Kansas City on how to create a delicious and easy S’Mores Bar. This idea is super simple and requires very little prep. Prior to my party, I created my platter with the Godiva Chocolate Squares. Then, for the “extras”, I just prepared some sandwich bags filled with the ingredients I wanted to include inside my S’Mores and when it was time to serve, I just quickly put them into white plates and Voila…. DONE!! We used stereos for our fire source inside the house.
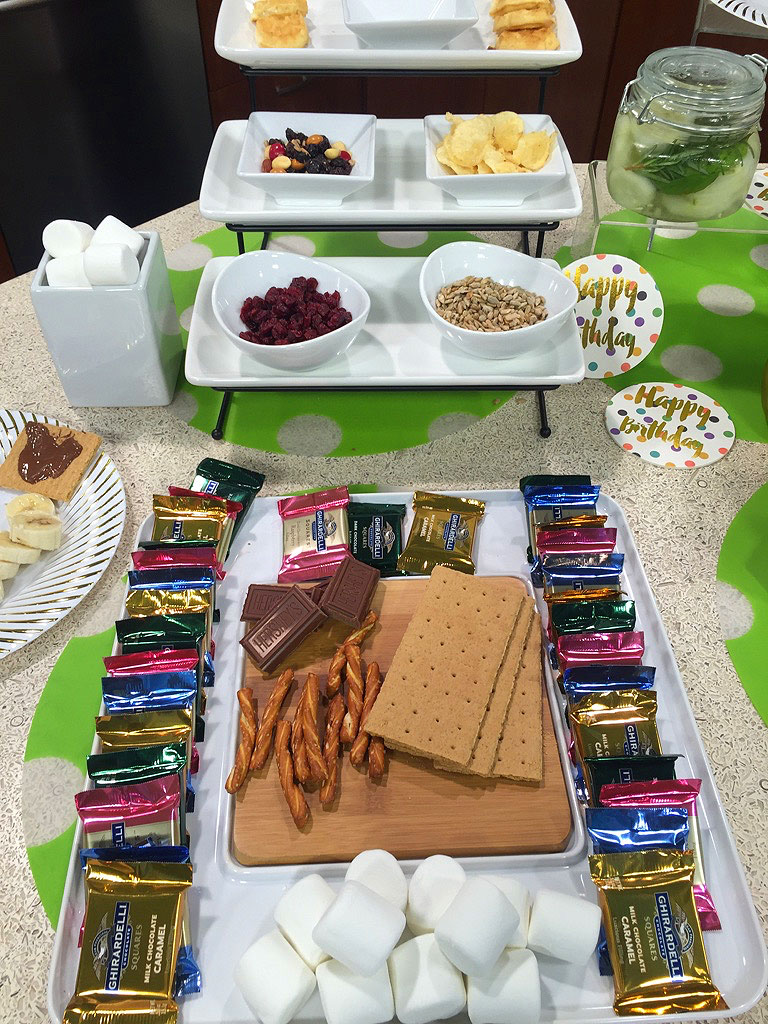 Here’s a beautiful Godiva S’Mores Platter. Includes Godiva chocolates, graham crackers, pretzel sticks, marshmallows and more!
· Posted in Decadent Desserts, Desserts, Game Night, Parties, TV Appearances, TV Spots ·
February 10th, 2018
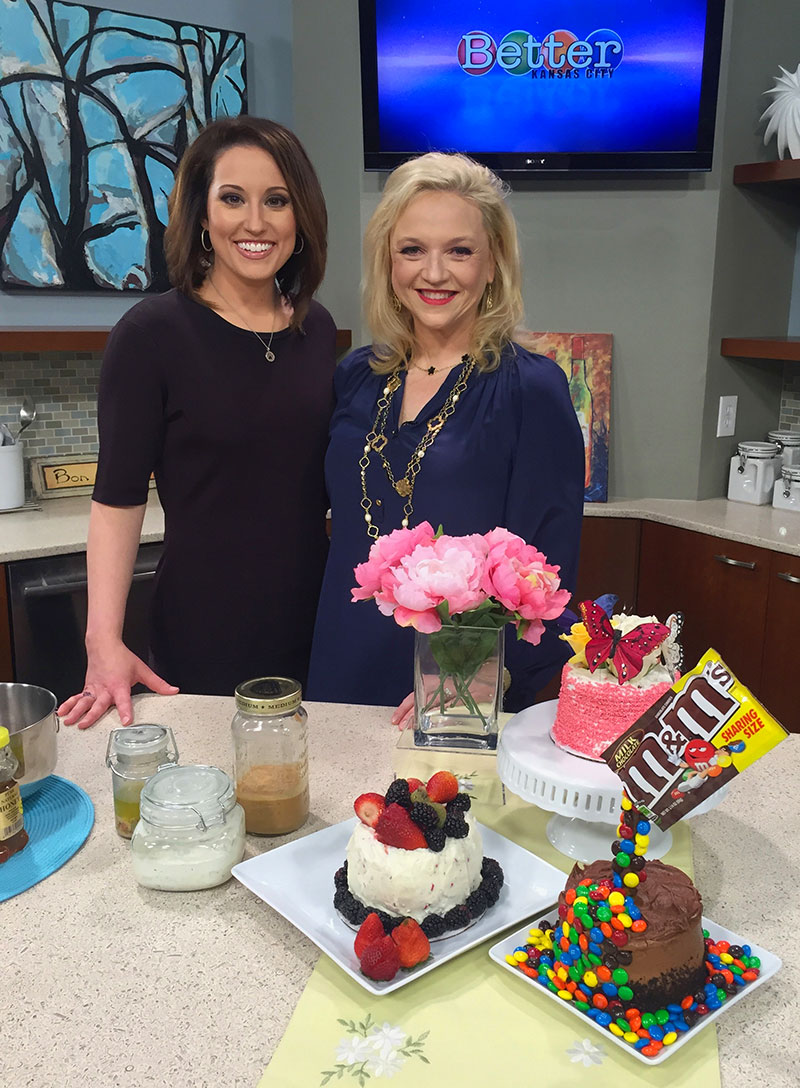
A few years ago, I had the pleasure of being a regular guest on Better Kansas City. Mother’s Day was coming up and the producer wondered what great ideas I may have to save people time and money. I came up with three cake hacks which were easy to implement and didn’t cost a lot. As Lisa Teachman, one of the wonderful Better Kansas City hosts, was preparing for my interview, I was quickly assembling these cakes on set. Believe it or not, this was my easiest assembly EVER! Typically, I’m assembling my food and setting up to the very moment my segment is about to start. This time, it was so easy, I had a chance to even chat a bit with some of the audience members.
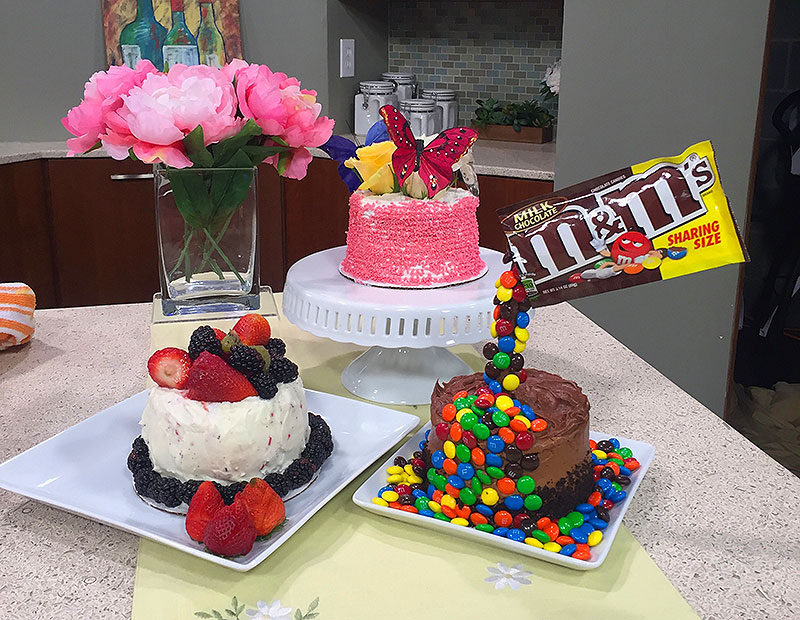
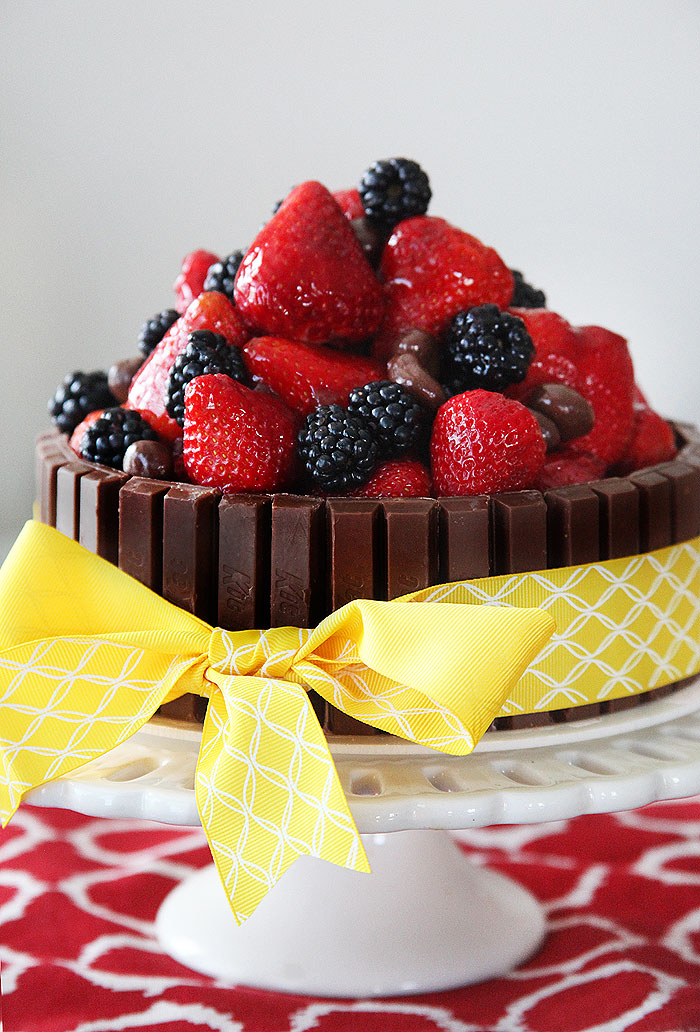
My first two hacks were simple store-bought cake decorations. For one, I used fruit. Simply adding some fruit on top and around the cake made for a much prettier presentation than the store-bought cake decorated with sprinkles. My second cake had fresh flowers and feather butterflies. I made sure the roses were organic and were not sprayed with any type of chemicals. The feather butterflies were purchased at Michaels and came on a metal twine which I sterilized and inserted into the cake. None of these items are edible, but if you are having a party and you want to display your dessert, this would be a stunning way to do it. Just remove the flowers and butterflies before you cut and serve the cake. You can also use edible flowers, if they are available in your area.
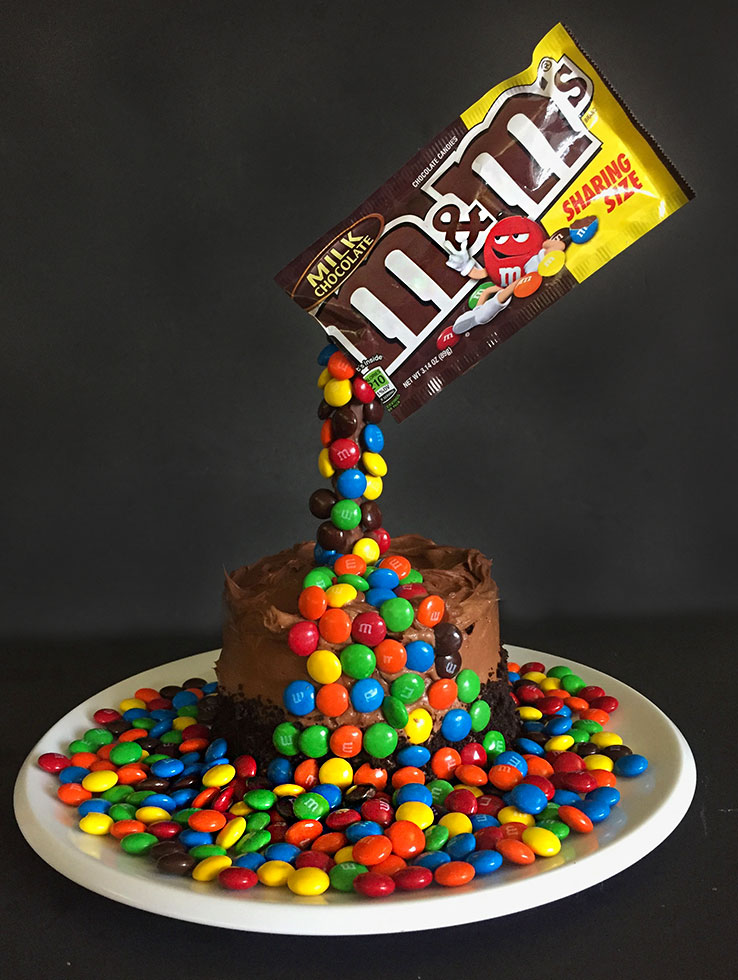 M & M Magic Waterfall Cake For the chocolate lover, this M&M Magic Cake is super easy to create and will WOW your guests. Just cover a pretzel stick in chocolate, roll it in M&Ms or Reeces Peanut Butter Cups, and insert it into the cake. Arrange candy to look like a waterfall and pool the rest around the cake. Place the wrapper of the candy on top of the pretzel and it will look like the candy is cascading directly from the wrapper. Trust me, you’ll get ooooh and ahhhs from your guests.
· Posted in Desserts, Party Hacks, TV Appearances, TV Spots ·
December 19th, 2016
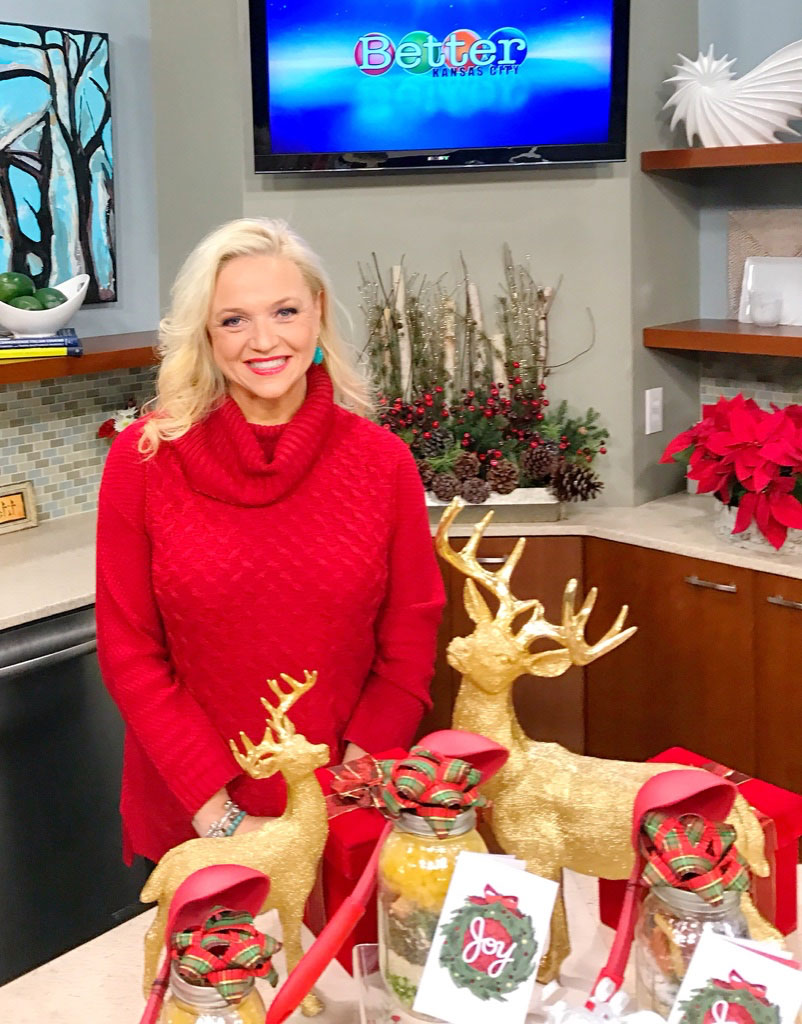 December 2016 on Better Kansas City December is always a wonderful time of year… Christmas lights, holiday parties, reuniting with family, seeing old friends, making new friends, lots of opportunities to use the fireplace, holiday cards, egg nog, cake, and food, food, food!!!
I think we can agree, December is a month that may be hazardous to the waistline, so when I was invited to come up with some fun ideas for KCTV’s Channel 5 Better Kansas City, I thought I would develop a gift that was straight from my heart AND kitchen but also a healthy alternative to cookie or hot cocoa mix in a jar.
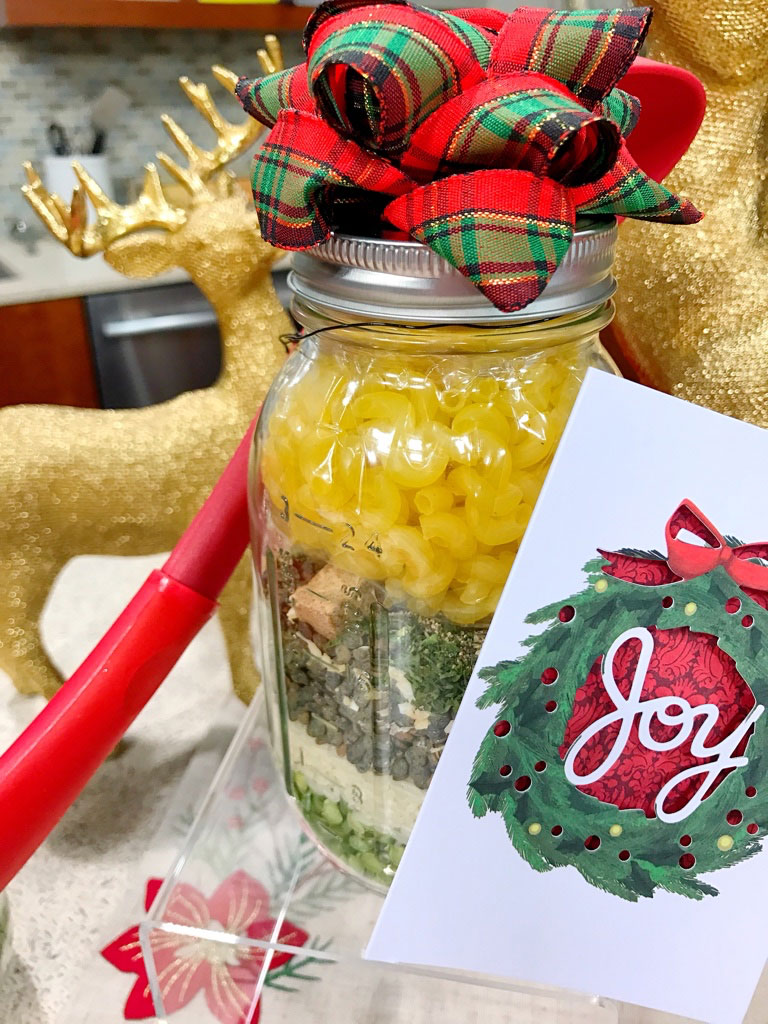 Soup in A Jar – Great Holiday Gift! PROTEIN PACKED PEA & LENTIL SOUP:
Hold on to your hats, because this soup packs a massive amount of fiber, protein, and magnesium! So easy, delicious, and super healthy! Substitute the beef bouillon cubes for vegetarian cubes, to turn this soup vegan/vegetarian friendly.
1 Cup Dried Split Peas
1/2 Cup uncooked white rice
1/2 Cup lentils
3 Tbsp Minced Onion
3 Tbsp Dried Parsley
3 tsp salt
1/2 tsp pepper
3 beef bouillon squares
1/2 – 1 cup of elbow pasta (pack in a zip lock bag since it will be the last
step in preparation)
DIRECTIONS
1.In a wide mouth 1 quart jar, start layering the peas, rice, and lentils.
Then add the onion, parsley, salt, pepper, bouillon cubes and bagged pasta.
2. Seal with a lid, and place a gift bow on top. Attach a gift card with
ribbon that reads: Add Contents of Jar To 4-5 Quarts of Water. Bring to a boil
and then simmer for 45 minutes, add pasta, simmer for another 15 minutes and enjoy. To elevate this soup recipe, add two stalks of chopped celery, two sliced carrots, 1 cup of shredded cabbage and two cups of diced tomatoes.
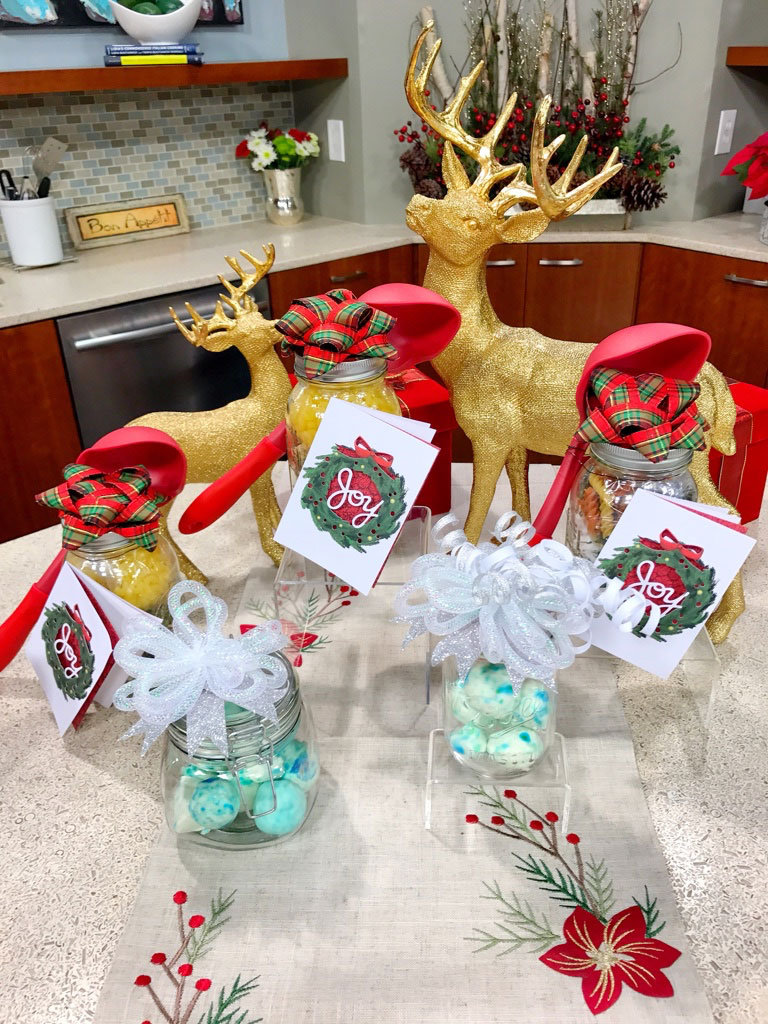
VAPOR RUB SHOWER BOMB
3 tablespoons of VapoRub
1 cup of corn starch
Blue and green food coloring (optional)
3 tablespoons of water
Mixing bowl
Wax paper
Spoon
DIRECTIONS
1. In a bowl add in the three tablespoons of VapoRub. You can use any variety of VapoRub you wish.
2. Stir in the cup of corn starch. Mix well. You will notice that the
VapoRub takes a little time to soften. Continue to stir until it becomes a
thick paste.
3. Add in the two tablespoons of water. The goal is to make a paste that can
easily be manipulated with your hands, since you will be creating balls out
of it. Once you see that your mixture is thick enough to work with, it may
be a good time to stop. If you pick it up and try to shape it and it falls
apart, it needs a little water. If it can’t hold a shape, it has too much
water, so add more cornstarch.
4. When your mixture is the right consistency, add several drops of green
and blue food coloring. Continue to stir. This step makes the Shower bombs look like they have mint and spearmint in them, a little visual trick. But if you prefer to omit the food coloring, feel free.
5. Once the color is mixed in well, scoop the mixture into your hand. It
will have a play dough feel to it. Knead it into a ball and set on a piece
of wax paper. For a square look, pack the mixture into an ice cube tray and freeze. When frozen, cut each rectangle in two to create smaller squares.
6. Place in a freezer for 20-30 minutes and then put in a jar. If this is
a gift, include direction on the gift tag to place directly on the drain of
the bathtub while taking a shower. You don’t want the ball to be floating
in the bathtub water during the shower, since it can make the bathtub slick.
Placing it directly on the drain will make sure that it will melt directly
in the drain.
· Posted in Christmas, Crafts, Food Holidays, TV Appearances, TV Spots ·
February 9th, 2016


As always, hanging out with the wonderful people at Better Kansas City is always a treat! On yesterday’s Valentine’s Day inspired show I showed Lisa Teachman a few fun recipes. May I quickly add that I feel proud that I was the reason she tried beets for the first time! You gotta love it when you can inspire people to try a fun recipe or experience a new foods!
My three recipes included a Beet Hummus (Brace yourself… this stuff is AH-MAZING!!!), No Bake Paleo Cookies, and home-made chocolates filled with fun and healthy ingredients. So, without further delay, here are the recipes. Enjoy!!

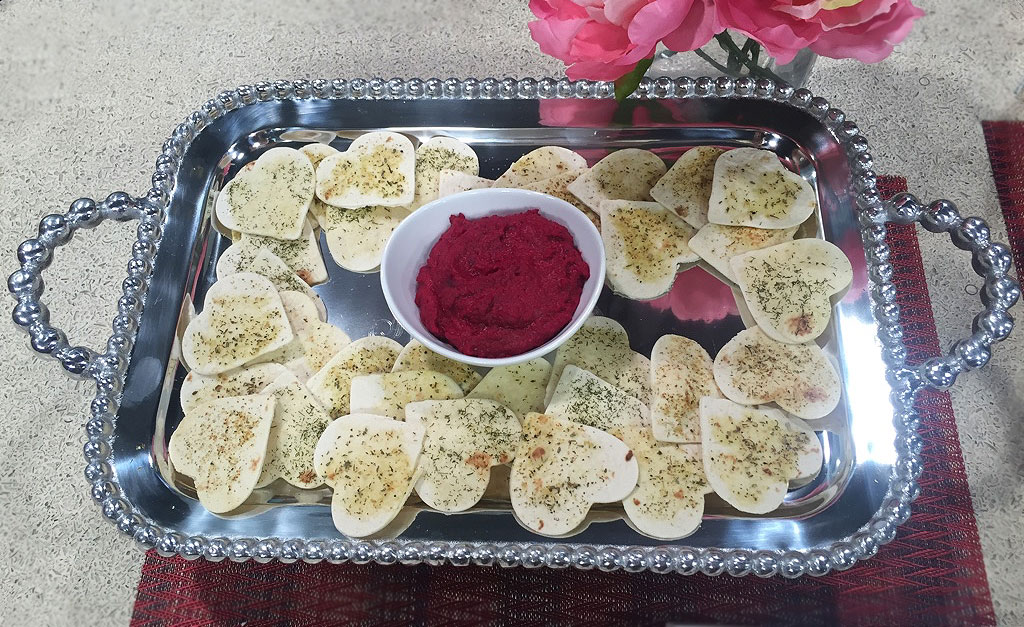
ROASTED BEET HUMMUS + BAKED HEART TORTILLA CHIPS
1 cup of roasteded beets (directions to roast below)
1 15 oz. can white kidney beans (mostly drained)
zest of one large lemon
juice of half a large lemon
healthy pinch salt and black pepper
2 large cloves garlic, minced
1/4 cup extra virgin olive oil
1. Slice beets into thick slices and toss in olive oil with a generous portion of salt, pepper, and your favorite dried and/or fresh herbs. I love to toss mine with dried rosemary and oregano. Roast at 400 for approximately 15-20 minutes.
2. Let beets cool and place them in a food processor. Add, olive oil, beans, lemon zest and juice, garlic, Process all ingredients until very smooth. Follow my three step rule… Process, scrape, taste. Adjust ingredients according to your taste. I love extra lemon in my hummus, so I may add a bit more as I process. Then, again… Process, scrape, taste. Do this a total of three times and you should have your perfect hummus!
3. Serve hummus with warm pita bread, chips, crackers, or vegetables. Store extra hummus in an airtight container for up to a week.
For the above photo I used large tortillas which I cut out as hearts (with a heart cookie cutter). Then, I brushed each heart with olive oil, sprinkled with dried dill, oregano, and garlic salt. Baked at 375 in the oven for about 10-15 minutes… keep an eye on the tortilla chips so they don’t burn. Let cool and serve alongside your beet hummus. These baked tortilla chips are so much healthier than the store-bought fried alternative!
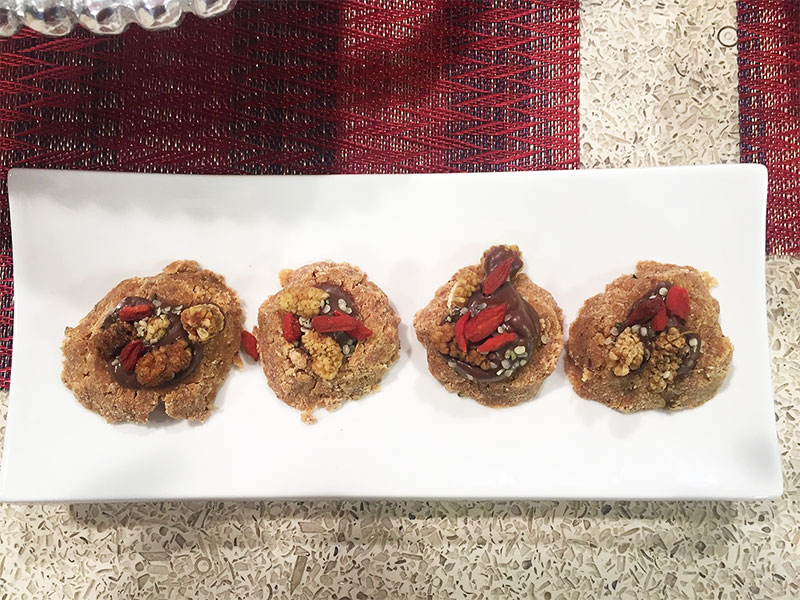
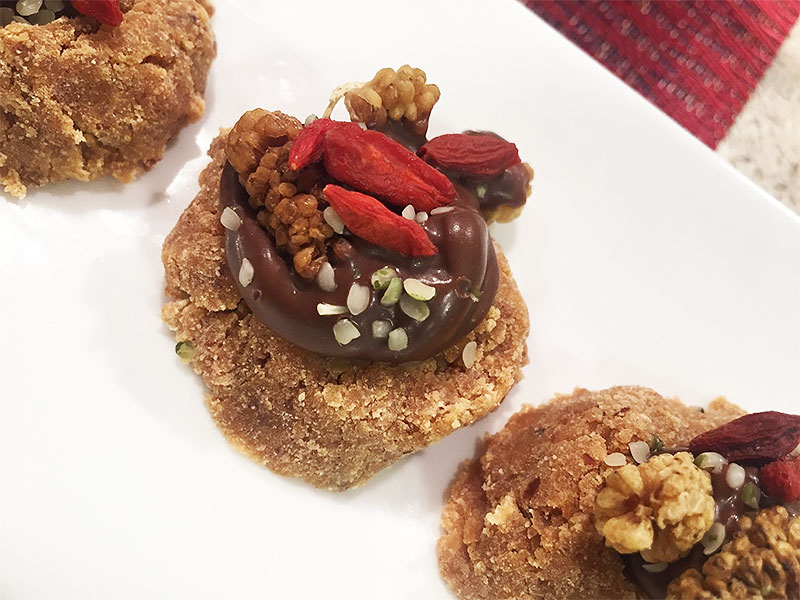
PALEO NO BAKE THUMBPRINT COOKIES
1 cup coconut flour sifted
2 T almond flour
1/4 cup coconut palm sugar
pinch cinnamon
1/4 cup almond butter
1/4- 1 cup Almond Milk
Dark chocolate
Goji Berries
Hemp Seeds
Instructions
In a large mixing bowl, combine coconut flour,almond flower, and coconut palm sugar, and cinnamon. Make sure all the dry ingredients are mixed well.
Stir in the almond butter until the dough is crumbly. Using a tablespoon at a time, add the almond milk until a very thick batter is formed. Make golf sized balls with the dough and press down in the center of each to create a small ditch. Place the balls on a lined baking pan. Fill with dark chocolate and top off with god berries and hemp seeds. Refrigerate until time to serve.
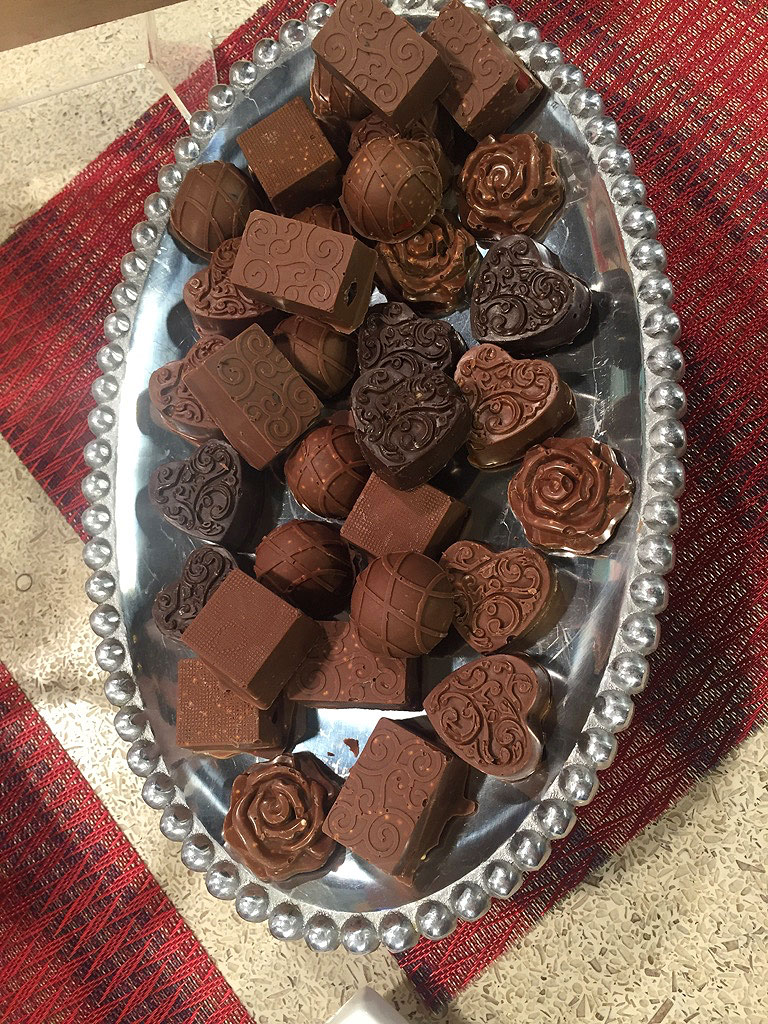
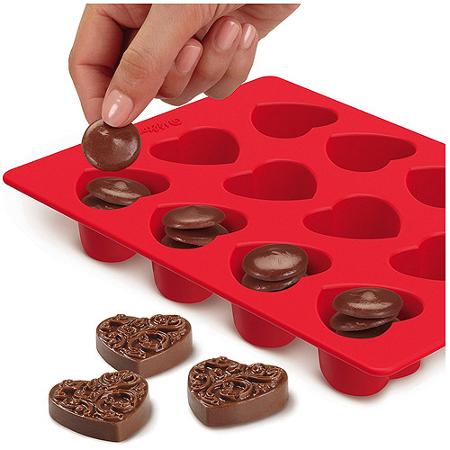
QUINOA POWER CHOCOLATES
Any kind of chocolate Chocolate or candy melts
1/2 cup of toasted Quinoa (toasting instructions below)
Small heart molds or candy molds. I purchased mine at Michael’s in the baking section
Make chocolate with your favorite recipe or melt chocolate chips or candy melts.
Add toasted Quinoa to chocolate and mix well. Fill the heart molds with the chocolate and quinoa mixture. Cool in refrigerator until fully set. Pop out and enjoy.
HOW TO TOAST QUINOA : Toast quinoa in medium saucepan over medium-high heat, stirring frequently, until quinoa is very fragrant and makes continuous popping sound, 10-15 minutes. Transfer quinoa to bowl and set aside. Store extra quinoa in an airtight container.
· Posted in Guilt Free Party Snacks, Parties, Recipes, TV Appearances, TV Spots, Valentine's Day, Veggie Platter ·
May 24th, 2015
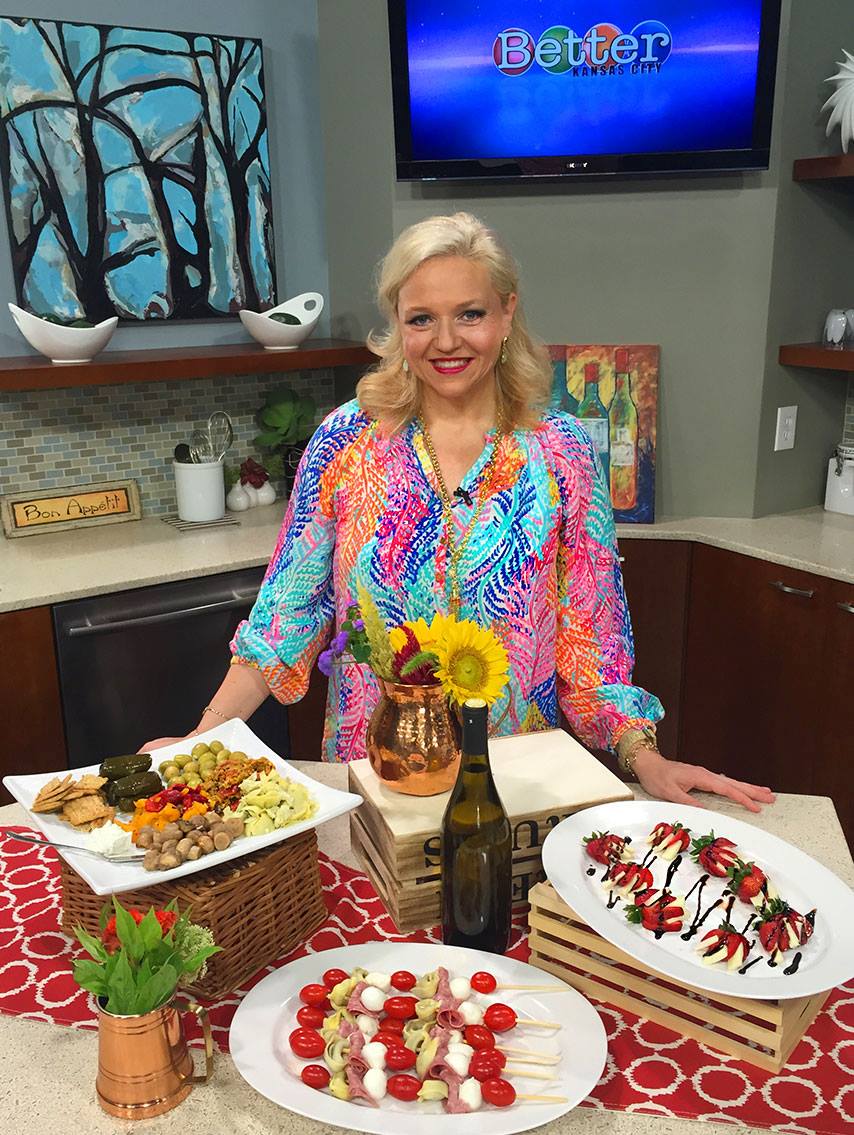
What is one of the easiest parties to throw? A wine and cheese tasting party, of course! Just ask your friends to bring a bottle of wine and a wedge of their favorite cheese, and before you know it, you’ll have a buffet worthy of royalty!! You can even make a “theme” out of it. Ask your guests to only bring a particular kind of wine (red or white) or narrow it down to a wine from a specific region. You can also choose a single type of cheese you want your guests to bring. For example, ask everyone to bring only their favorite sheep cheeses or only goat cheeses. It’s fun to see what people enjoy and you don’t have to take on the financial burden of paying for all the cheese and wine, which can get pricey!
As the hostess, I love making fun recipes which guests can sample. As I said in my TV segments, I don’t typically like to have all my dishes be experiments, but I at least try one dish which is a little bit out of the box. Here are three recipes which I find to be easy and very attractive and they are all perfect for a wine and cheese tasting party!! One of the recipes, the easy Antipasto Plate, was contributed by a very talented florist and friend, Rhae Adams, owner of FOUND IN NATURE.
Would you like to watch these dishes be prepared? You can go to the videos page and find the recipes you like and watch how simple they are to create. http://www.partytipz.com/media/
Rhae’s Simple Antipasto Plate
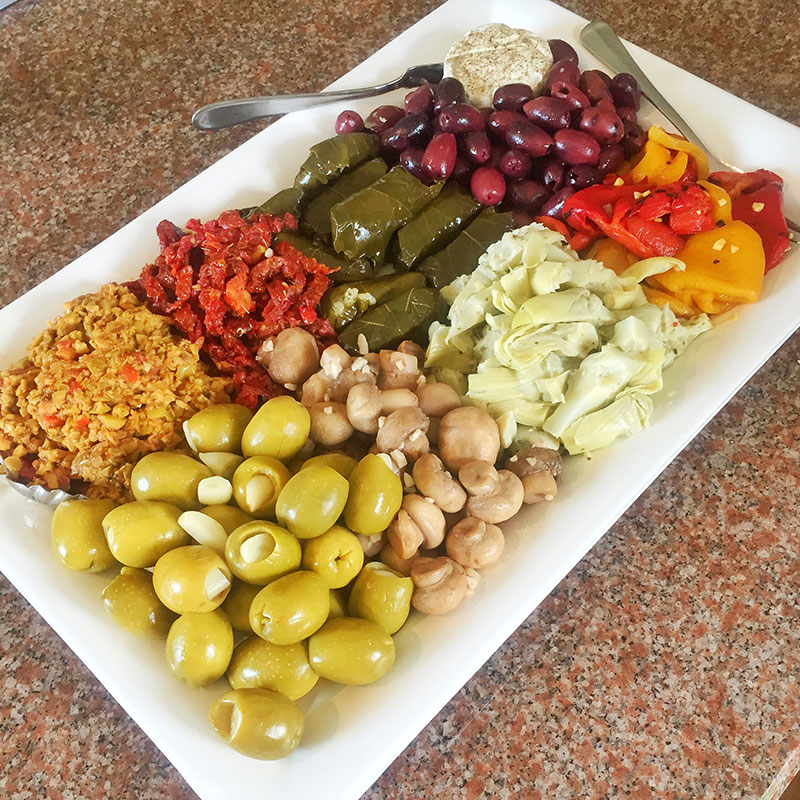
Go to the marinated and canned section of your store and find what you love. I love purchasing these items at Trader Joes since they are all right next to each other. Some of my favorite things are:
1 can of Artichoke Hearts
1 jar of marinated olives (stuffed with almonds, onions, garlic, or whatever
you like)
1 jar of marinated red and yellow peppers
1 jar of pre-made tamponade
1 jar of sun dried tomatoes in olive oil
additional jars of items you like
goat or sheep cheese
crackers
Make sure to drain all jars of the water or olive oil. Cut up the items (such as artichoke hearts and peppers into small pieces, carefully arrange all items on plate, making sure that the colors go well together. Use chopsticks to move and arrange items neatly on the platter and use paper towels to absorb any extra liquids which may mix on the platter. Lastly, add your favorite cheese have a selection of various crackers, and add some fresh bread. Enjoy!
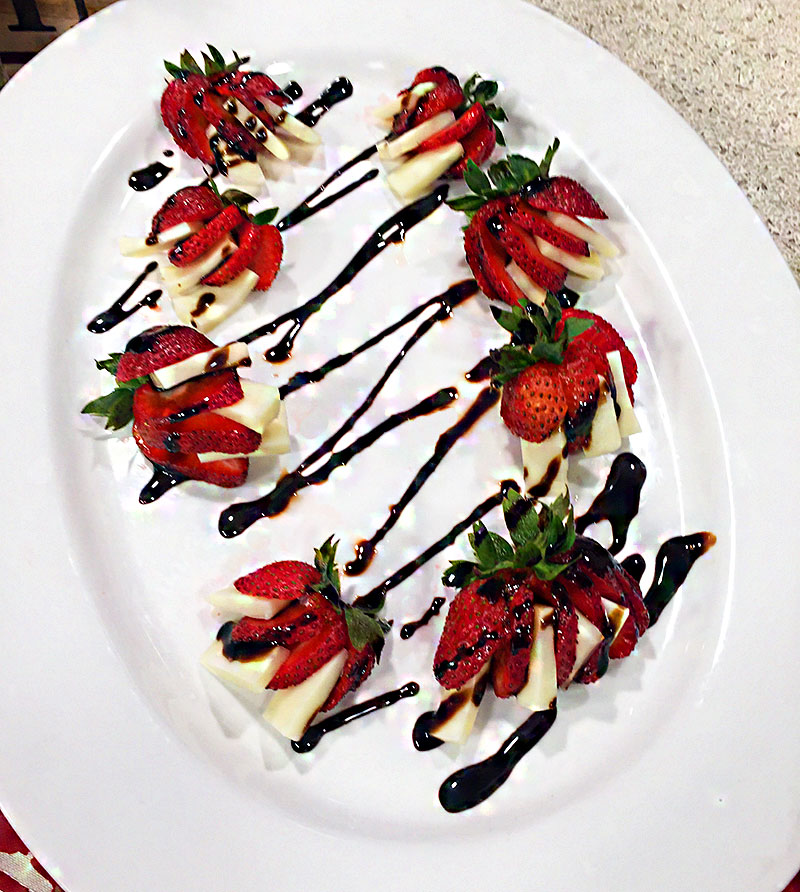
Cheese Stuffed Strawberries
1/2 bottle of white wine
5-6 strawberries
25 small slices of Fontina cheese
Balsamic vinegar or balsamic reduction sauce
Soak strawberries in wine for 24 hours
Slice and fan strawberries
Slice fontina cheese into thin and small slices which can fit inside the
strawbwerry
Place each slice in the strawberry crevices
Drizzle balsamic vinegar or reduction sauce on the strawberries
Top off with almonds or mint and enjoy
Cheese Kabobs
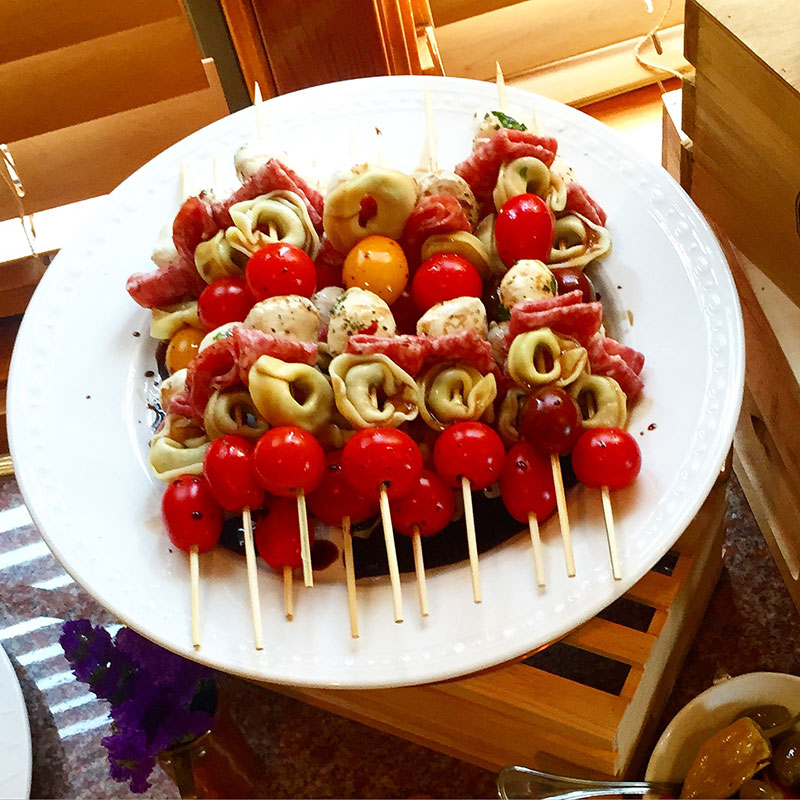
Skewer Sticks
Mozzarella cheese
Salami
Meat or cheese tortellini
Heirloom Tomatoes
Grease the skewers with oil
Skewer a tomato, followed by mozzarella cheese, salami, tortellini and
repeat until you cap off with the last tomato. Arrange finished skewers on
platter and drizzle with balsamic vinegar, salt, pepper, and serve
· Posted in Appetizers, Cheese, Guilt Free Party Snacks, Parties, Recipes, Trends, TV Appearances, TV Spots ·
October 10th, 2014
- Single layer store-bought cake or bake your own cake (make sure it is only one tier and no taller than 2.5 inches)
- 2 large bags of snack-sized Kit Kat bars. These are full sized Kit Kats but will come in a package of two, instead of four. Do not buy the mini Kit Kats.
- 1 large package of fresh strawberries
- 1 pkg of fresh blackberries
- 1/2 jar of jam, fruit preserves, or lemon curd
Take your store bought cake out of its package and place on your serving plate or cake stand. You can also bake your own cake, just make sure it is no taller than 2.5 inches.
Make sure your cake is well iced or has plenty of frosting. Open the Kit Kat packages and place the Kit Kats around the cake. (I recommend you refrigerate the Kit Kats for about an hour, this helps harden them a bit so they won’t break as easily when you are handling them). When the cake is fully surrounded with Kit Kats, tie a pretty ribbon around the cake.
Wash the strawberries and blackberries and pat them dry. Place the strawberries on the cake and begin piling them to make a pretty presentation. The good news is that there is no real science behind it, just pile them any way you like. When the strawberries cover up the cake entirely, start placing the blackberries in some of the crevices left by the strawberries.
Put the 1/2 jar of fruit preserves in a microwave safe bowl and add 1/4 cup of water. Microwave for about 30 seconds or until the entire mixture is liquefied. Mix the water and preserves to make a nice smooth mixture. Take a brush, and dip it into the preserves soaking it fully. Start brushing the strawberries and blackberries with the preserves, giving them a beautiful shine. Continue brushing them until they are glistening and are fully covered.
You can refrigerate this cake for up to 24 hours prior to serving. Or, you can serve immediately.
The best way to serve the cake, is to initially scoop out the fruit from the top, put them in one area of the plate. Then, take off the Kit Kats and set them next to the strawberries. Once you have room to cut the cake, slice a piece and place it next to the strawberries and Kit Kats.
Another option for serving is pre-cutting the cake before decorating it with Kit Kats and strawberries.
· Posted in Recipes, TV Appearances, TV Spots ·
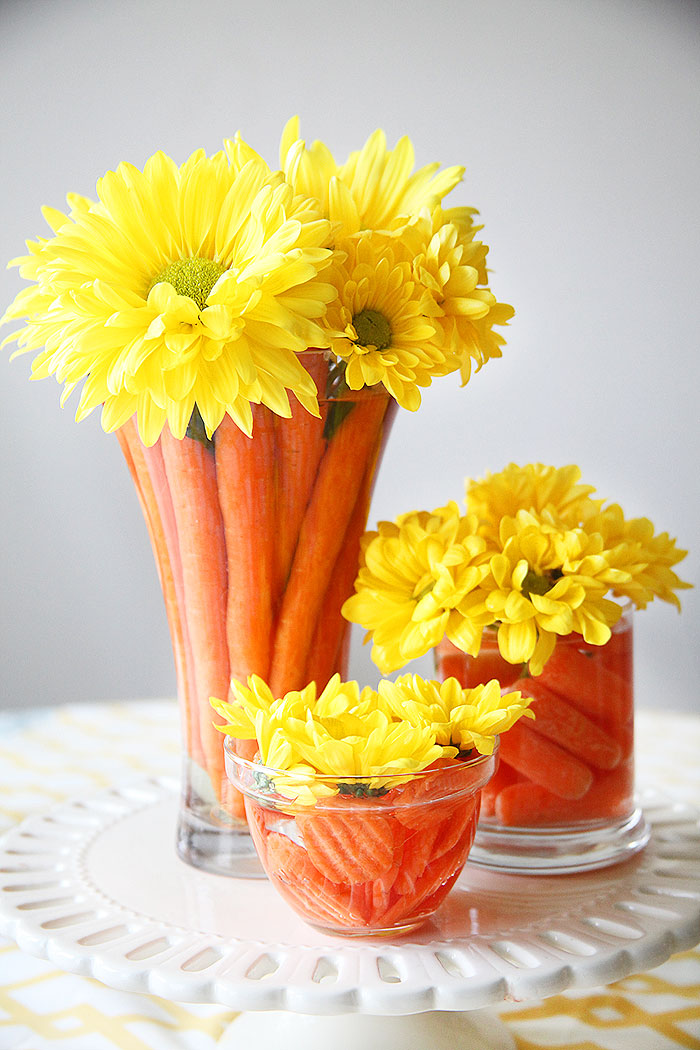
May 18th, 2014
Whether you are celebrating Easter, or just the beauty of the arrival of spring, this centerpiece could not be any easier and makes an incredible impact on your table or buffet. All you need is clear glass vases, various carrots, and some mums or daisies. For a step-by-step instructional video, just VISIT MY VIDEOS PAGE and look for the EASTER CARROT CENTERPIECE segment on Better Kansas City!
· Posted in Easter, Table Decore, TV Appearances, TV Spots, Uncategorized ·
March 17th, 2014
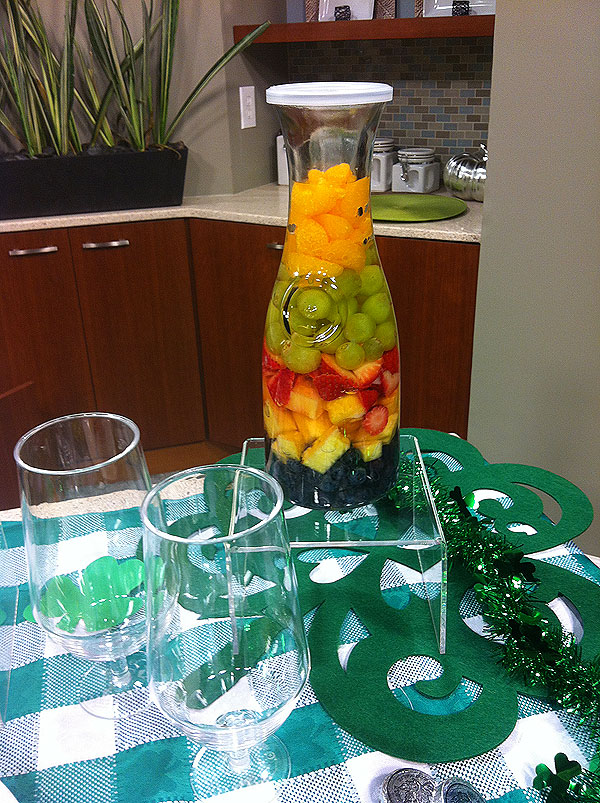
I had a great time on Better Kansas City showcasing some super easy recipes for St. Patrick’s Day. My favorite, has to be the Rainbow Sangria! All of the recipes are available in our “recipes” section and I also included links.

IRISH FLAG TRIFLE
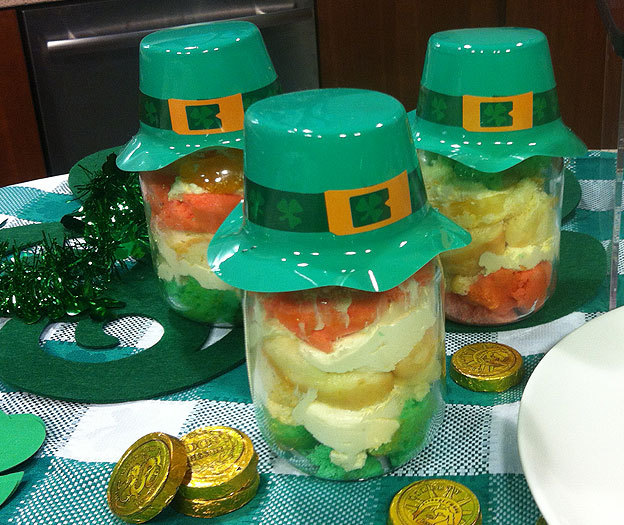
RAINBOW SANGRAIA
· Posted in Parties, Recipes, St. Patrick's Day, TV Appearances, TV Spots ·
January 27th, 2014
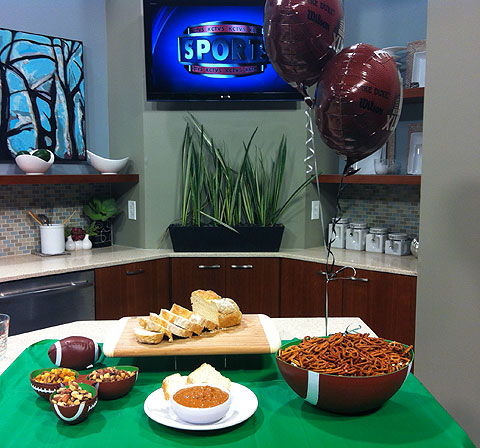
I had a blast today hanging out with Alexis and Dave from Better Kansas City Morning Show on Channel 4, here in Kansas City! I demoed three great “mobile” snacks to take to a Super Bowl party. Hot Wing Pretzels… Roasted Flavored Nuts… and Hot Wing Pretzels! All were super easy and with just a few ingredients!

BEER BREAD
3 cups of Self Rising (very important!) flour
3 tabspoons of sugar
12oz container of beer (any brand)
Pour beer into bowl. Then add flour and sugar. Mix until you have a dough
that is not sticking to the sides (you can add a little extra flour if you
like). You can place the dough directly in a well greased loaf pan. Or,
you can put the dough on a floured surface and knead it until you like the
consistency. Either way, your bread will be perfect (kneading or no
kneading).
Bake in the oven at 350 degrees for 55 minutes or until you see the top of
the bread get brown. Keep an eye on your bread because ovens can bake
differently. If you like, you can pour some melted button on the top of the
bread 10-15 minutes before it is done.
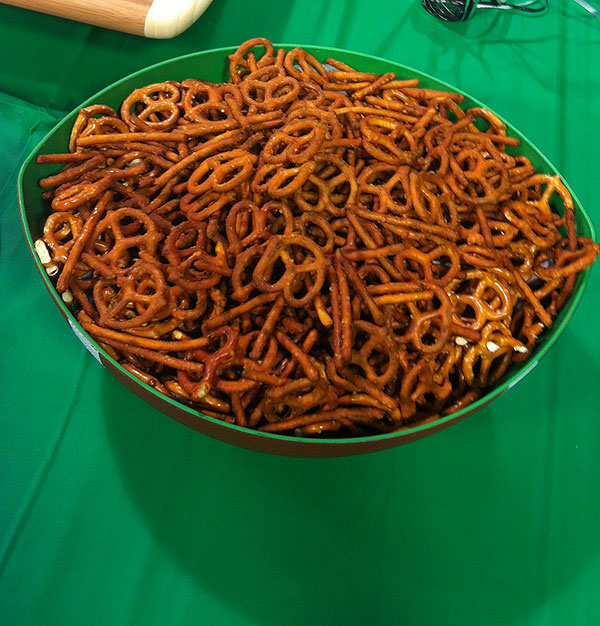
HOT WING PRETZELS
1 bag of pretzel sticks or regular pretzels. Do not use large pretzel
sticks.
1/2 cup of Butter
1/2 cup of Hot Wing Sauce
2 Tbsp of Worcestershire Sauce
2 tsp Garlic Salt
In a pot, heat up the sauces and garlic salt. Once everything is mixed and
well heated, place the pretzels in a bowl and coat with hot sauce mixture.
Make sure that you coat the pretzels little by little, you don’t want there
to be extra sauce on the bottom of the bowl or a puddle on your baking sheet. Mix the pretzel sticks so they are well coated. Then place on a baking pan and bake on 300 degrees for 30
minutes, stirring every 10 minutes.
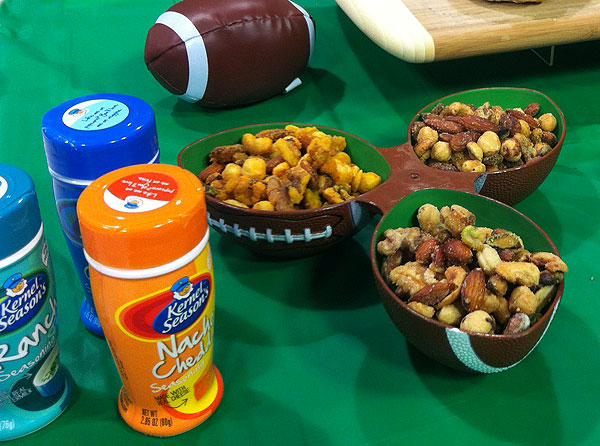
SEASONED NUTS
3 cups of any nuts or mixed nuts… make sure they are RAW!
1/4 – 1/2 cup of butter
Ranch, cheese, or any pop-corn seasoning. You can also use seasoning packs
made for salsas and dips.
Place your nuts in a bowl. Melt butter and pour it over nuts little by little. Mix well
until all nuts are coated. Then simply add your favorite seasoning… as
much as you like. Bake in the oven at 350 degrees for 7-10 minutes. KEEP
YOUR EYE ON THE NUTS SO THAT THEY DO NOT BURN!! After nuts are taken out of
the oven, sprinkle some more seasoning on them and wait for them to dry
fully 3-5 hours. Great to make a day in advance.
· Posted in Appetizers, Parties, Recipes, Super Bowl, TV Appearances, TV Spots, Uncategorized ·
|
|
|