Bring Some Bling With Metallic Pumpkins
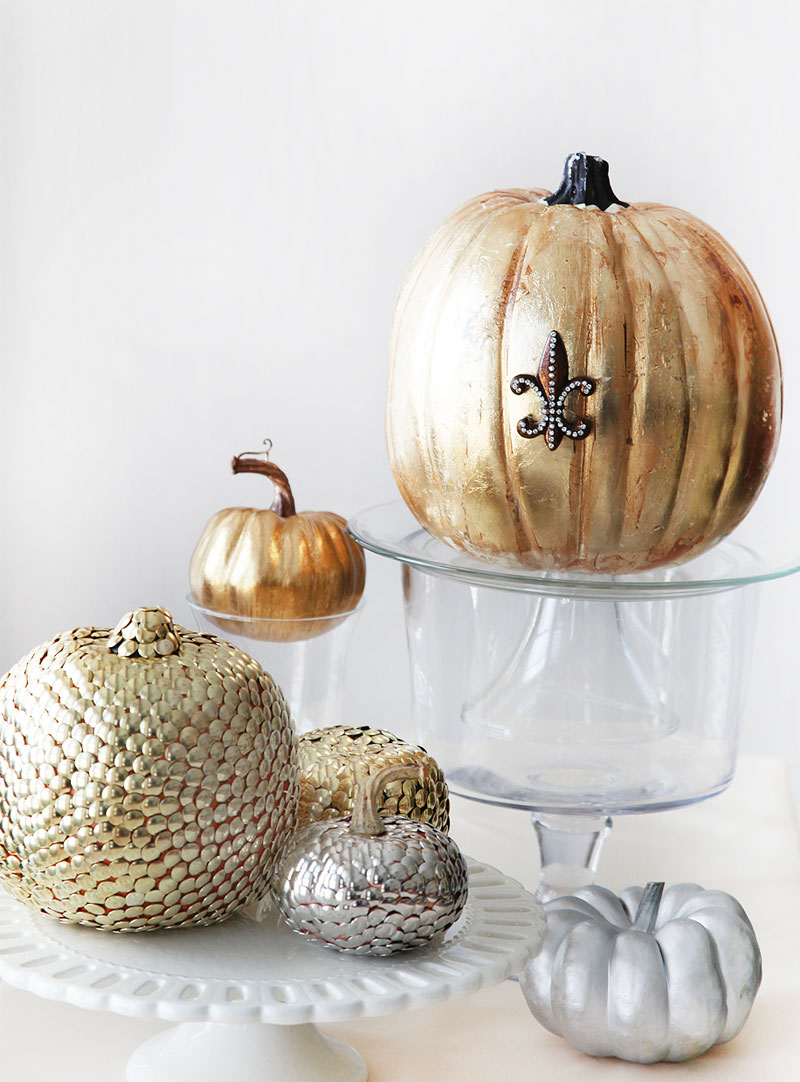
Each year, I look for different ways to “spice up” my fall festivities. I love finding different ways I can embellish a pumpkin without crossing into the Halloween mode. This year, I scoured the web and Pinterest for some great ideas and found these three. I’m in love with the idea of covering your pumpkin in metal. This is such a classic style which I can add to every year. Below are some of the ways I embellished my pumpkins with metal. Some of them are super easy, one takes a bit of skill. I hope they inspire you.
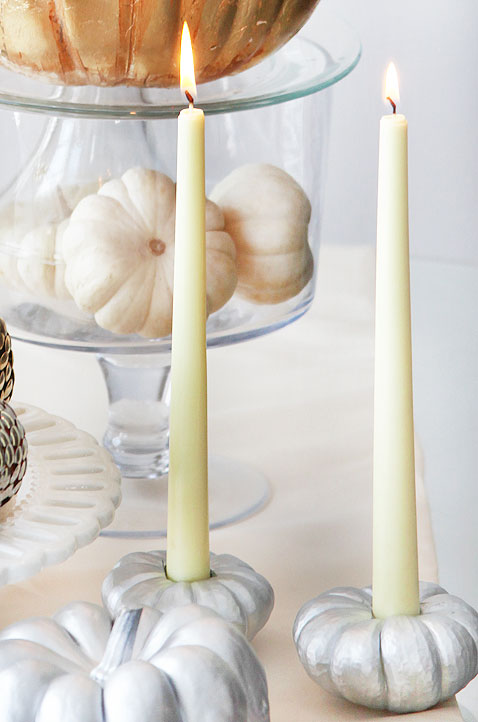
The first idea, to turn your regular pumpkin into a metallic pumpkin, is the simplest. Simply spray paint your pumpkin. It’s easy, quick, and gives you great results no matter your skill level. These days, you can find spray paint in many craft stores and they sell them in half the normal size you would find in home improvement stores. You can spray paint both faux pumpkins and real ones.
Here is something that I noticed which I thought you would want to know about. Unfortunately, my spray paint tended to come off. For example, my pumpkins left silver paint on all my tablecloths and fabric surfaces. If you plan on keeping your silver pumpkins in urns or glass vases, the “rubbing off issue” should not be a concern, but if you are planning on displaying your pumpkins on your favorite tablecloth, I would re-think spray painting them.
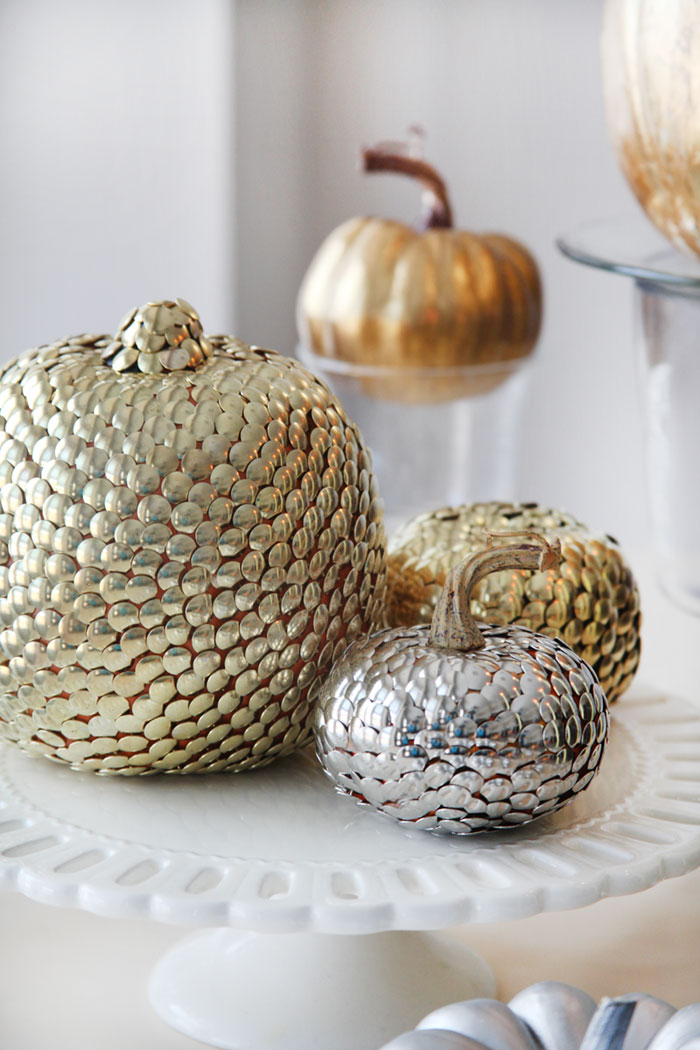
My second idea (which was my favorite), was covering my pumpkins in thumbtacks…. yes, thumbtacks! I found this idea on the web and fell in love. I simply went to Home Depot and purchased thumbtacks in their hardware department. They are typically sold in boxes of 200 or smaller quantities in boxes of 60. I would highly recommend you buy the largest box you can get your hands on because it will take you a lot of thumbtacks to cover even the smallest pumpkin. My smallest pumpkin, pictured below, took 200 thumbtacks. My largest, which was a medium sized pumpkin, took over 800 thumbtacks!! However, the thumbtacks are inexpensive (about $3.50 per box of 200) and you can create your pumpkins while watching your favorite TV show. It requires time, but little skill and you will be left with a beautiful result, I guarantee it!
Things to keep in mind. I used faux pumpkins for all my thumbtack projects because I want to be able to use them year after year. If you are going to also use a faux pumpkin, make sure you purchase a high quality foam pumpkin to give the thumbtacks a good surface to be pinned on. One of my pumpkins was an inexpensive small pumpkin I purchased at the local dollar store, which was a poor choice since the thumbtacks fell out within minutes. The inexpensive pumpkins are great if you want to spray paint them but don’t use them for the thumbtacks project.
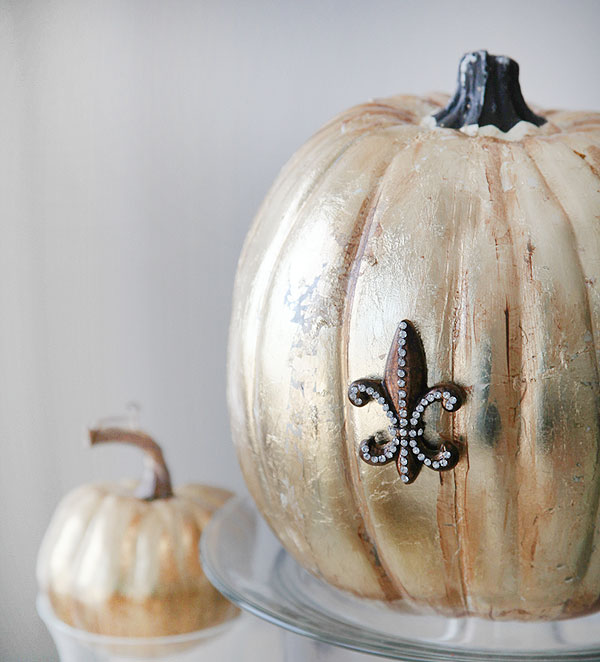
The last way I covered my pumpkin in metal was by gilding it. Now, I would love to tell you that this is a super simple project and certainly the manufacturers of the gilding kit make it as easy as possible, but the truth is, it takes skill and time and unfortunately, I didn’t have either.
I was able to follow directions of the gilding kit and the gold did adhere to the pumpkin, just as they said it would. However, I had a tough time smoothing it all over the pumpkin and the end result was a super gold pumpkin which was a little too “gold” for me. So, I used the antiquing paint they included in the kit and it really helped tone down the bright gold. It also gave it a beautiful distressed look which I really liked. I also hot-glued an embellished fleur-de-lys with the same distressed finish and it gave it a great look. It took me about an hour to do one pumpkin and I had to have my full attention on it, not like with the thumbtacks which I could do while watching TV. The result was very pleasing and I will definitely display it, but it was not the easiest project I would recommend.


